I use 2.5" strips for my bindings. Below is a picture of two strips with right-sides-together, at a right angle.
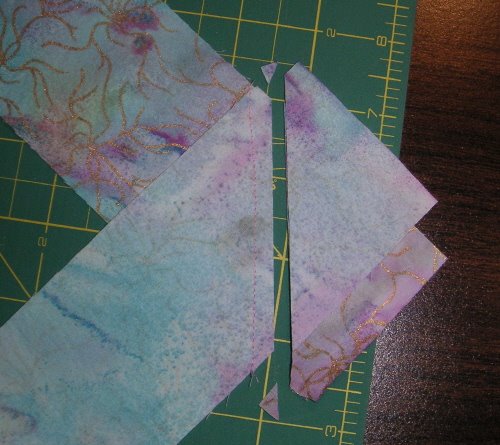
I sew across from corner to corner, trim off the excess and dog ears. I also iron all the seams open.
I fold it in half and iron the strip. I'm left-handed, so most of the stuff are going to be from a lefty's perspective. :)

I also trim both ends so they're straight.
I bring my binding strip to the quilt and start sewing it down about 10 inches from the start of the strip. I've demonstrated my starting point with a pin.
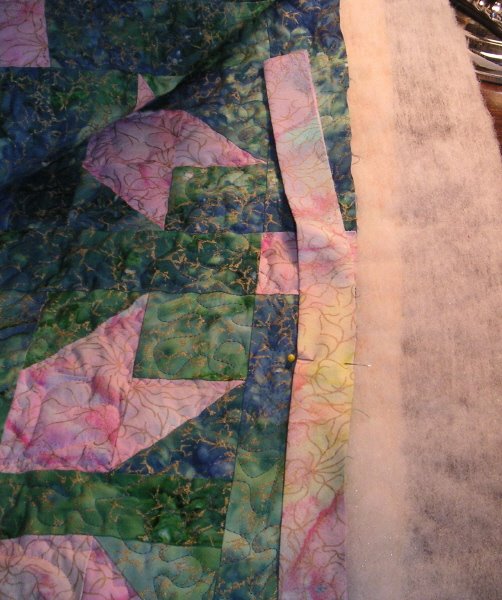
I don't pin my binding in place - used to though! I sew a quarter inch from the edge of the quilt with my quarter-inch foot, but I imagine some people would do well with a walking foot. I'm afraid the walking foot and I got off to a bad start and I haven't used it since. :P
I sew all the way down to a quarter-inch from the edge of the quilt.
Then WITHOUT cutting the thread, just merely pulling it away 2-3 inches, I turn the quilt to the next side that I need to sew the binding on.
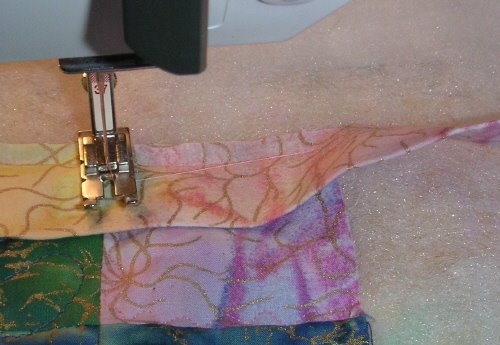
I bring the binding up so it forms a mitered corner, basically aligning the strip with the side of the quilt.

Then I bring the strip down and the edge should align with the top and sides should meet.
I continue sewing down the binding until all four corners are done.
Now for the last side - same side you started on, you need to leave about a foot-long gap between the beginning and end.
Straighten the binding to the edge of the quilt. You need to overlap by the amount of your binding's width. My binding was 2.5" wide, so I need to overlap by 2.5".

I've marked the overlap amount with a pin. I've learned the hard way not to cut the binding just yet, because I did short myself once and it wasn't worth it. :P
Now I iron a diagonal line across my short end of the binding (the purple one in the above picture).
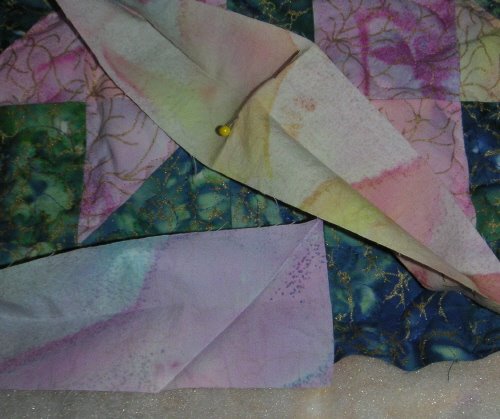
I opened up the other end of the binding and pinned the spot I've pinned earlier, 2.5" beyond where the ends meet.
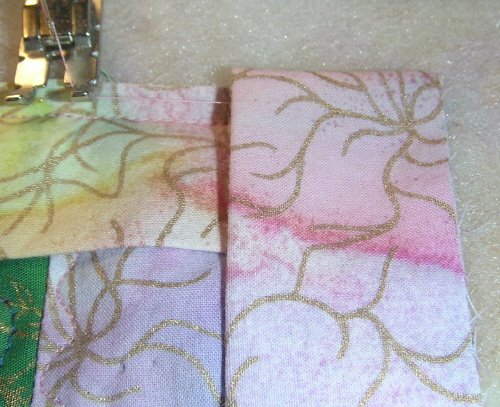
Then I line up the two pieces to form another right angle. If the pin was still on the binding, it would be on the left side of the yellow/peach fabric.

I sew across the diagonal line I've ironed. You do need to make sure that you've lined up the pieces correctly so that when they open, they'll form a contineous binding, instead of a boo-boo, like I almost did. :)
Now I'm afraid the binding joining stuff isn't going to make the best sense. I couldn't understand it until a lady showed me in person. But here's another website that shows the exact same method I'm using.
Continue to Part Two here.
Part Three.
2 comments:
I am cutting a binding for a quilt right now... I've never used this method on joining the 2 ends so will try it out on this quilt. Thanks for the step-by-step photo tutorial!
Cheers!
Evelyn
Ooooh, I needed this binding lesson. I'm terrible at it. So glad you posted this Leah. :)
Post a Comment